
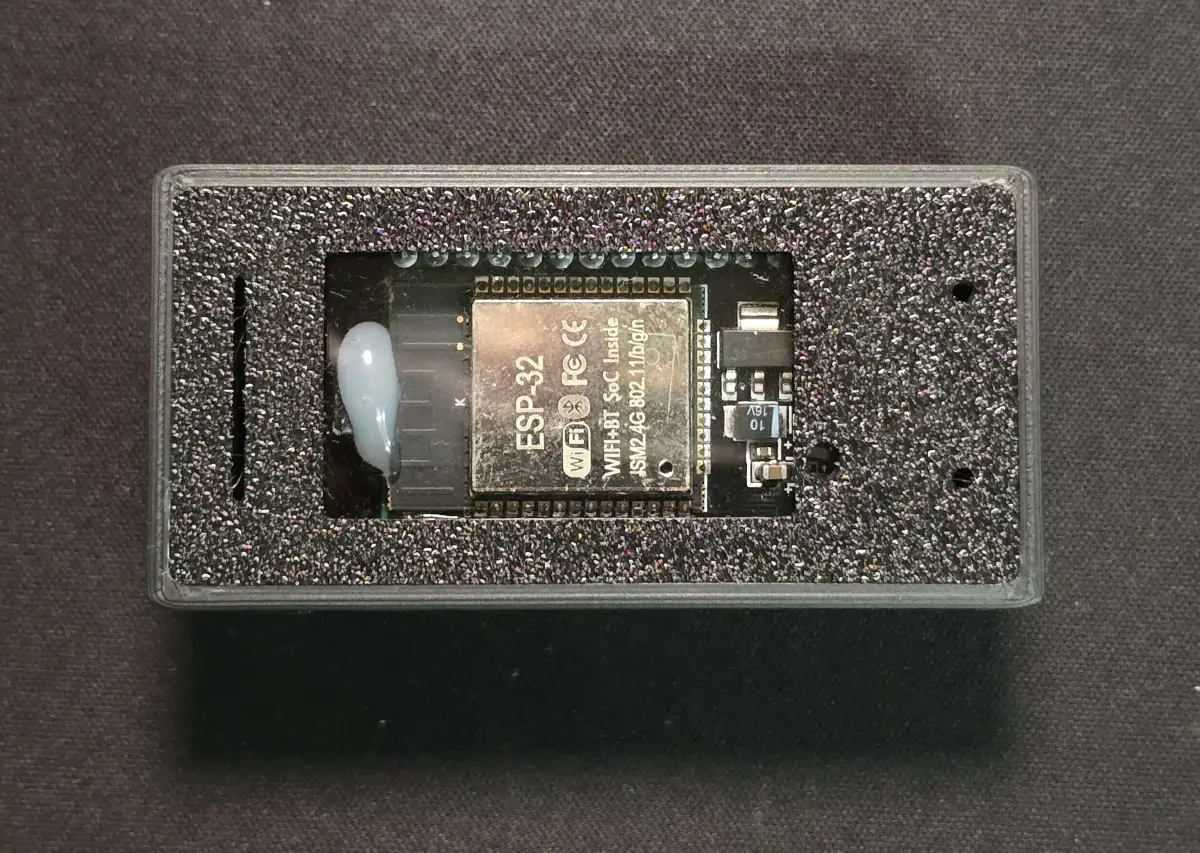
ES-Net
The base model. No screen and no buzzer.
- 70 × 35 × 24 mm
- Three-axis MEMS · 50 SPS
- Wi-Fi 2.4 GHz
- USB Type-C power
PriceNT$ 1,200Original priceNT$ 1,500
- Includes a power plug and a 1-meter Type-C cable
ES series seismometers
ES-Net and ES-Pro are three-axis MEMS accelerometer seismometers designed by ExpTech.Mount one on a floor at home and connect it to Wi-Fi. It measures seismic intensity in real time and sends the data back to ExpTech, for real-time seismic intensity in DPIP.
What a station does
The seismometer measures acceleration in three directions 50 times a second, calculates instrumental seismic intensity on the device, and sends it to ExpTech over Wi-Fi in real time.
A three-axis MEMS accelerometer samples at 50 SPS and converts that to instrumental seismic intensity with the Japan Meteorological Agency (JMA) method. After it boots, it starts output once 60 seconds of data are collected.
A station in networked mode sends data into TREM-net (the TREM seismic network). Services such as real-time seismic intensity in DPIP use that data.
Each station connects to both core nodes, Tainan and Tokyo, at the same time. If one fails, the other still receives the data and keeps processing.
After it joins Wi-Fi, it syncs the clock over NTP on its own. Timestamps are usually within ±10 ms, so they can be compared with other stations and earthquake reports.
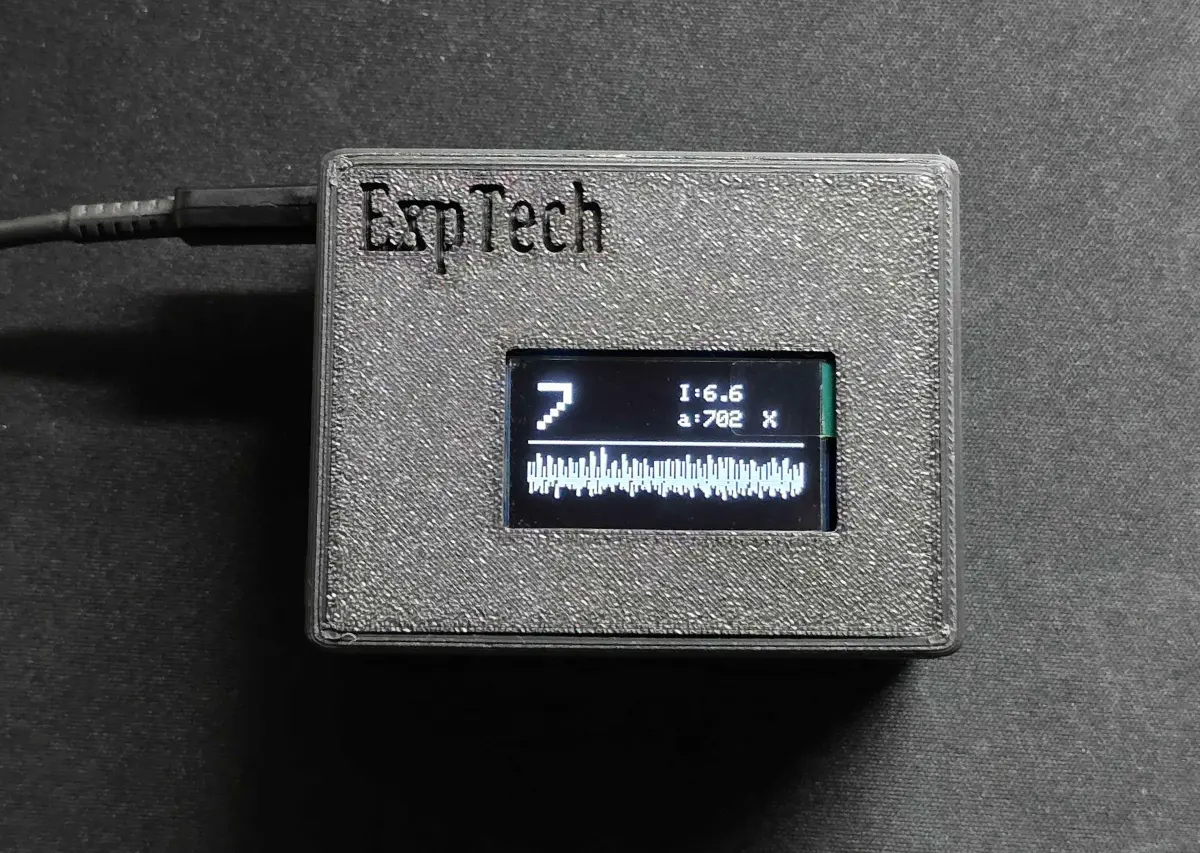
The OLED screen shows seismic intensity on this unit, acceleration, and about the last 12.8 seconds of waveform. The buzzer sounds when intensity on this unit reaches 2 or higher.
Connect it to a computer over USB Type-C and use the open-source QuakeWatch-Pro to view the three-axis waveform, spectrum, and instrumental seismic intensity in real time.
The buzzer sounds only after this seismometer feels the shaking. It is not the Central Weather Administration (CWA) Earthquake Early Warning (CWA EEW). To receive that warning before strong shaking arrives, use an app that relays it, such as DPIP.
How the data is used
ES series stations across Taiwan send data back in real time. ExpTech uses it to calculate real-time seismic intensity and waveforms. ExpTech relays CWA EEW to phones through DPIP. The TREM system also calculates TREM EEW from station data on its own. TREM EEW is not official information. Under the Meteorological Act, it is provided only to specific users, not to the general public. Releases from the Central Weather Administration prevail.
For how station data is sent, processed, and backed up, see the technical docs.
Models and prices
ES-Net and ES-Pro match on measurement, time sync, and communication. ES-Pro adds an OLED screen and a buzzer. Both include a power plug and a 1-meter Type-C cable.
The base model. No screen and no buzzer.
PriceNT$ 1,200Original priceNT$ 1,500
It adds an OLED screen and a buzzer, so you can see intensity on this unit without a phone.
PriceNT$ 1,800Original priceNT$ 2,200
How to buy
Seismometers are sold by registration. The steps run from checking the conditions to bringing the station online.
You need 2.4 GHz Wi-Fi at home, a stable indoor floor, and a power outlet nearby.
Enter the installation address, contact details, and a photo of the installation spot, and read the notes in the form.
Contact a station engineer on Instagram or Discord to get a 7-ELEVEN seller-shipping order link.
Review is expected within 1–2 weeks, and the seismometer is tested before it ships.
About 3–5 days after it ships, you can pick it up at a 7-ELEVEN store.
Mount the seismometer, set up Wi-Fi with ExpTech Home, then tell a station engineer.
Installation conditions
All three have to be met. If one is missing, the station cannot operate normally.
If it cannot operate normally because these conditions are not met, it cannot be returned.
The seismometer supports 2.4 GHz only. It has to be on a network to send data back. If the router has only 5 GHz turned on, turn on 2.4 GHz.
You cannot use a phone hotspot or public free Wi-Fi.
Mount it on an indoor floor. Avoid places where it can be knocked, or where things often shake for reasons other than an earthquake. It is not waterproof (IP10).
A bump or other shaking is treated as ground motion and causes a false report.
A 1-meter Type-C cable is included. There must be an outlet near the installation spot. An extension cord is fine.
If you use an extension cord, secure the cord too.
Purchase registration
After you submit the form, contact a station engineer yourself to get the order link.
Full address and floor of the installation spot
Used to locate and calibrate the station. Enter the full address.
Applicant name
Used for registration and shipping contact.
Applicant mobile number
Used for registration and shipping contact.
Photo of the installation spot
The place you plan to put the seismometer, and the surroundings.
This information is used only for installation and later contact. It is not made public.
Open the registration form(external link)Mount the seismometer
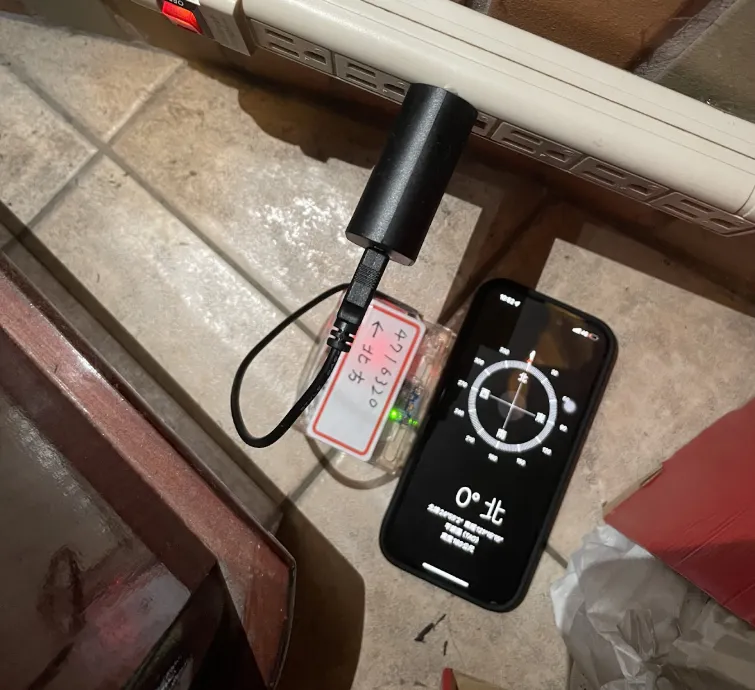
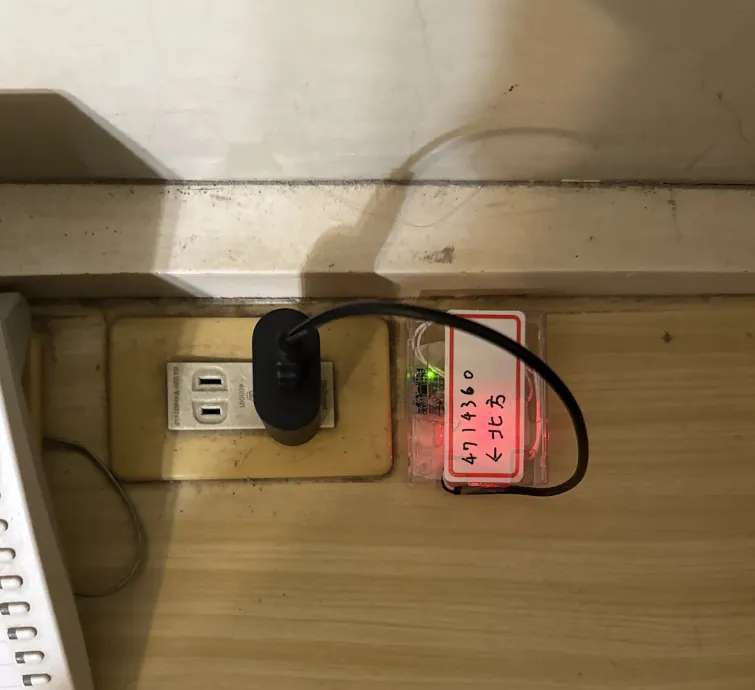
Direction and placement affect data quality. After the seismometer arrives, mount it in the order below, then set up Wi-Fi.
Set up Wi-Fi
Set it up over Bluetooth in ExpTech Home on your phone. You do not need a computer. Turn on Bluetooth and location on the phone, and allow the app to use them.

The setup app for ES series seismometers. Use it to set up Wi-Fi and update firmware.
Hold the reset button for about 5 seconds, until the LED blinks quickly. The ES-Pro screen shows "BLE Pairing".
Open ExpTech Home, tap 「快速設定」, then 「開始設定」, and keep the phone near the seismometer.
Select your seismometer from the list. The name format is "model_device ID".
Select a 2.4 GHz network and enter the password. To add a hidden network, use 「手動輸入」.
「啟用併網模式」 is on by default. Leave it on to join TREM-net.
A slow blink means it is connecting. When the LED turns off, it is connected and has started normal operation.
If you let go of the reset button before about 5 seconds, it enters BLE OTA mode, which is used to update firmware (the LED stays on). Unplug the power, plug it back in, and hold the button again.
Full setup stepsHow the connection modes differTroubleshooting
Join the network
After it connects to Wi-Fi, tell a station engineer on Discord. ExpTech watches3–5 daysof data quality. After confirming there is no problem, the station appears on the map and officially joins TREM-net.
Tell an engineer on Discord(external link)If you change the router or the Wi-Fi password, or if you move, hold the reset button for about 5 seconds and set it up again with ExpTech Home. When you move, also tell ExpTech to update the installation address.
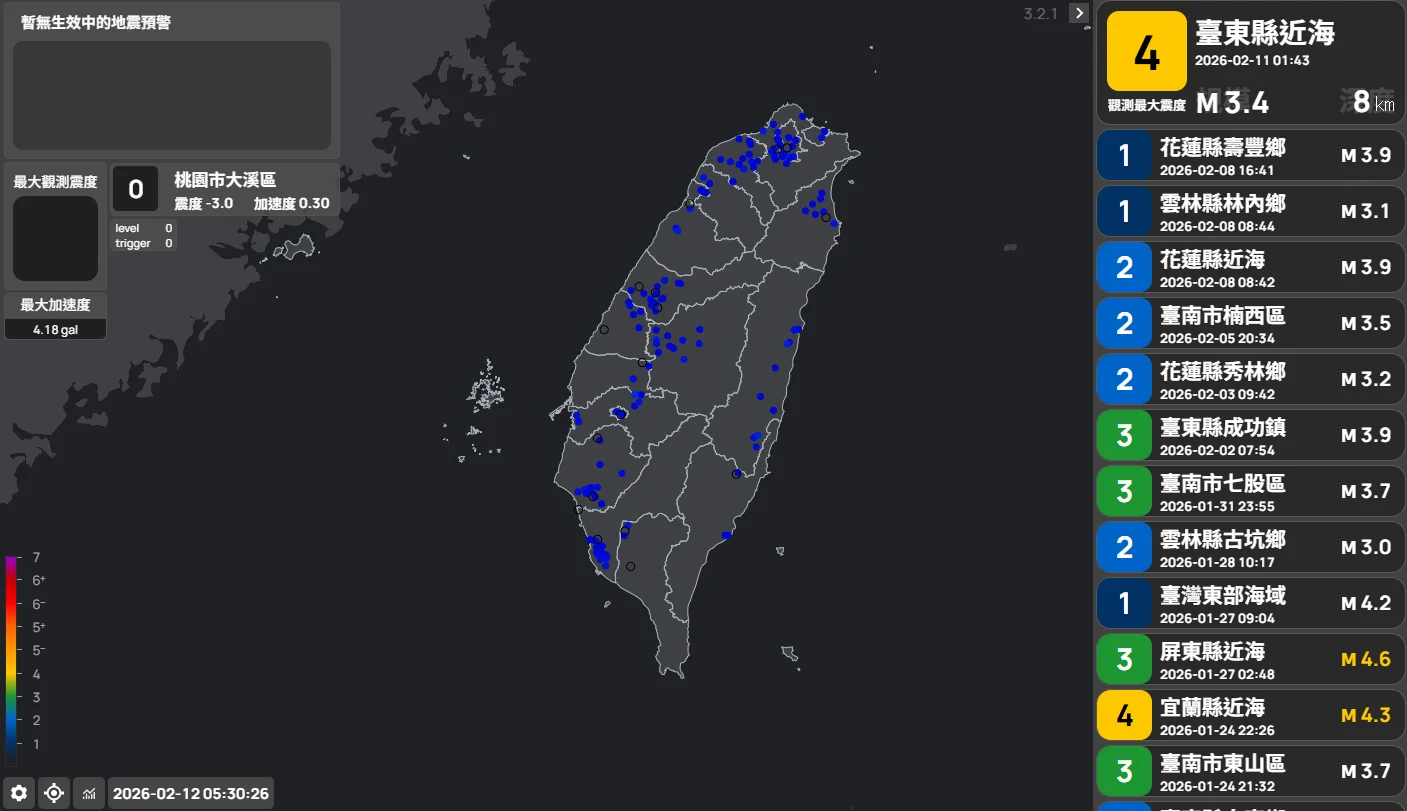

Disaster Prevention Information Platform
After a station comes online, its data is used for real-time seismic intensity in DPIP. DPIP is the ExpTech disaster-information app. CWA EEW, real-time seismic intensity, earthquake reports, weather and rainfall, typhoons, and hazard alerts are in the same app.
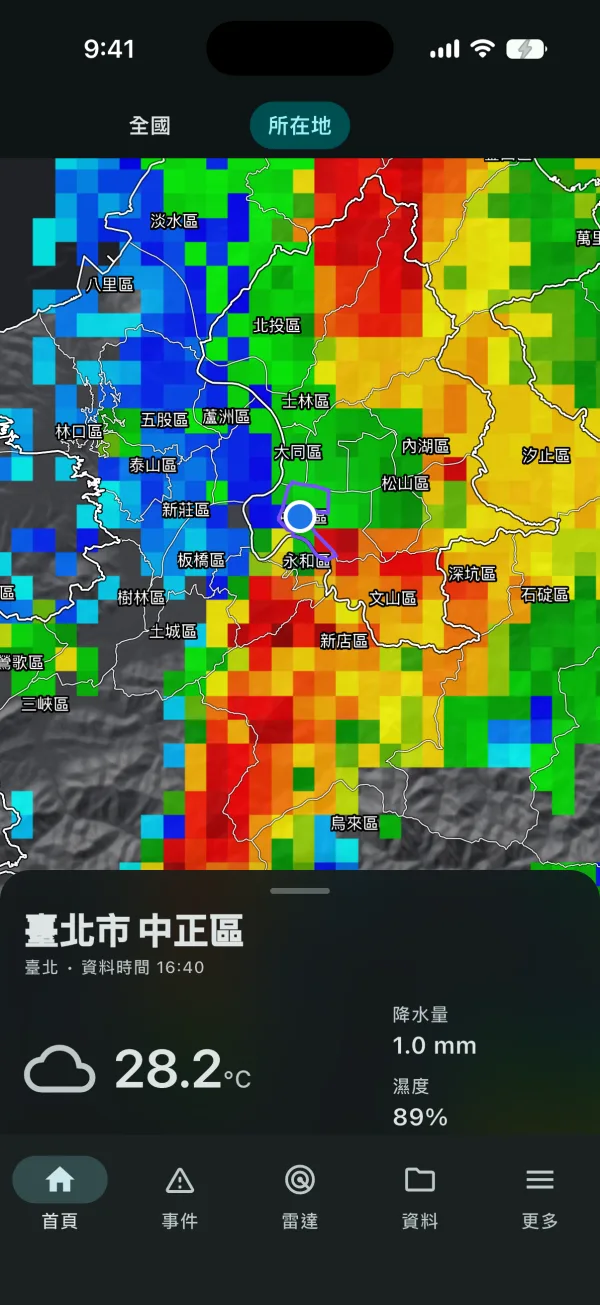
Product docs, the community, and announcements. When you ask a question, include the model and device ID so an engineer can tell what is going on.